Return to Main Menu ![]()
Fencing
Timber
Sheds
Decking
Composite
Gates
Garden Accessories
Arbours & Seats
Return to Category Menu ![]()
Border & Deck Fence Panels
Concrete Posts & Gravel Boards
Contemporary Range
Decorative Screening
DuraPost®
DuraPost® Urban Composite Panels
DuraPost® Vento Composite Panels
European Panels
European Lattice
Paints, Stains & Preservatives
Paling/Traditional Panels
Postcrete, Accessories & Fixings
Fencing Accessories
Screws, Nails and Fixings
Traditional Trellis
DuraPost® Sleek Aluminium Panels
Post Support Spikes & Bolt Downs
DuraPost® Vista
European Gates
View all
Return to Category Menu ![]()
Return to Category Menu ![]()
Return to Category Menu ![]()
Return to Category Menu ![]()
Return to Category Menu ![]()
Return to Category Menu ![]()
Return to Category Menu ![]()
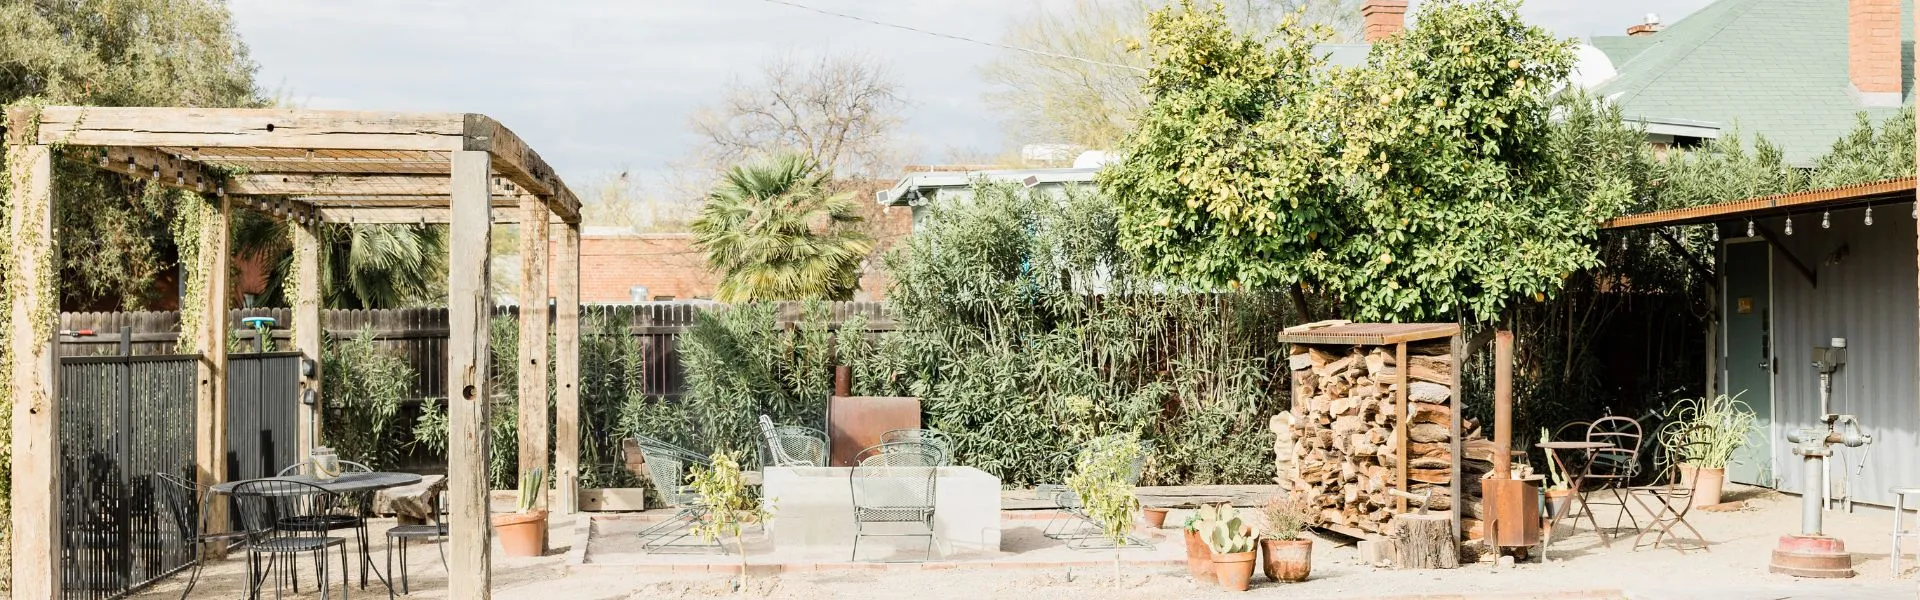
Choosing the right garden fence for your home is about much more than marking a boundary out. The right fence for your home will not only boost your “kerb appeal” but also protect your garden from wind while also providing you with privacy from neighbours, and add an extra layer of security, keeping unwanted visitors out and pets in.
So why is it so difficult? Well, there’s a huge range of fencing styles to choose from, different materials, installation methods and rules you have to follow. So to help you, we’ve put together this complete FAQ guide to help you choose the perfect garden fence for your home.

What Types Of Garden Fencing Are Available?
Every single person who reads this blog will come out with a different option for their home; the right choice for you won’t be the right choice for the next person. Every person has their budget, level of privacy, and how exposed their home is to the elements like wind and rain. Each of these factors will influence your choice.
What Are The Top Fencing Options?
Closeboard Fencing
Made from overlapping vertical boards fixed to horizontal rails, closeboard fencing is one of the strongest and most durable options available. It’s perfect for exposed gardens that need extra strength against wind.
Overlap Fencing
Overlapping horizontal slats create a more affordable option that still offers excellent privacy. A popular choice for back gardens where budget matters. Buy our fencing here.
Paling Panels
Ideal for front gardens, this classic style creates an open, welcoming look while still defining boundaries. Buy Paling Panels here.
Trellis Panels
Decorative and functional, a trellis can be used alone for climbing plants or added to the top of solid fencing to increase height without losing light. Buy Trellis fencing here.
How Do I Work Out How Many Fence Panels I Need?
Getting the right panel count is crucial to avoid extra trips to the supplier and an extra cost to you. The best way to work out how many fence panels you need is the follows.
Measure the total length of the fence line.
Divide this by 6ft (1.8m). The standard panel width.
Example:
42ft ÷ 6ft = 7 panels
What Do You Need To Remember?
You’ll need one gravel board per panel to protect against ground moisture, and always order one more fence post than your panel count to allow for both ends. But for irregular garden shapes, measure each section separately and round up.

How Do I Install Fence Posts?
Fence posts are the crucial foundation to any fence; without them, your fence wouldn’t be much of a fence, more just panels laid on the floor… Weak or poorly installed posts would lead to leaning, sagging or collapsing panels, so take your time to make sure your fence posts are installed correctly.
Step-By-Step Guide To Installing Fence Posts.
- Dig holes three times as wide as the post.
- Set posts at least 2ft deep for stability.
- Add drainage material like hardcore or broken bricks to the base.
- Use quick-set Post Mix concrete to save time (sets in 5–10 minutes).
- Always slope concrete away from the post to shed rainwater.
- Check vertical alignment with a spirit level and brace while setting.
- Use a string line to ensure a perfectly straight fence line before you start concreting any posts.
How High Can My Garden Fence Be Without Permission?
Planning rules can vary from county to county, but in most cases, your back garden can be up to 2 metres tall without permission. But next to a public road or path, the maximum is 1 metre. Exceptions apply if you live in a conservation area or own a listed building. When in doubt, check with your local council’s planning department.
In Sheffield, a garden fence can generally be up to 2 meters high without needing planning permission. However, if the fence is next to a road or footpath, the maximum height is 1 meter. Which is the same as the above.
Which Wood Treatment Is Best For Prolonging Fence Life?
We all know that the UK weather is unpredictable, especially here in Sheffield, our days can have snow, rain, wind and sun, sometimes all in the same day… Which is why it’s important to make sure your fence is treated to stop it from deteriorating quickly, especially in the winter.
How Do I Treat My Garden Fence
- A water-based wood stain for easy application and good colour choice.
- A solvent-based treatment for maximum water resistance and penetration.
- Products like Ronseal Fence Life Plus or Cuprinol Ducksback for long-lasting results.
What’s The Best Way To Apply Fence Treatment?
- Applying treatment properly can double the life of your fence.
- Wait for a dry spell to ensure the wood absorbs the product fully.
- Apply using a brush, roller, or pump sprayer for even coverage.
- Work in sections from top to bottom to prevent visible drip marks.
- Most treatments require two coats, with drying time in between.
How Often Should I Re-Treat My Fence?
Most modern fence treatments claim to last 3–5 years, but location and exposure matter. If your fence faces full-strength sun all day, every day, then expect quicker fading and the need for more regular treatments. If you get heavy rain or high winds, then always re-treat sooner to prevent water damage. We do recommend you do annual visual inspections each spring, and if you ever need some advice, just get in touch.
Can I Put Up A Fence On Sloped Ground?
The short answer is yes. And the method you choose affects both looks and strength. There are two main techniques you can use to do this.
Stepped Fencing
Panels stay horizontal, stepping down the slope like stairs.
OR
Raked Fencing
Panels follow the slope’s angle for a smoother line.
Adding gravel boards to fill gaps at the bottom keeps things looking neat and prevents pets from escaping.
How Do I Know Which Side Of The Fence I Own?
The best way to do this is. Check your property title deeds. There, you will either see a "T" mark on your side means you’re responsible, or a "H" mark means joint ownership. But if no markings exist, speak with your neighbour before starting any work to avoid disputes.
Should I Tell My Neighbour Before Building A Fence?
While not always legally required, it’s considered best practice. A friendly chat beforehand will mean you avoid misunderstandings while keeping your neighbourly relations strong. It also helps if access to their side of the boundary is needed. For more info, check out our blog on UK rules.
What Tools Do I Need To Build A Garden Fence?
A standard fencing toolkit includes. However, not every tool is mandatory.
- Spirit level
- Tape measure
- Saw
- String line
- Screwdrivers
- Sledgehammer
- Claw hammer
- Posthole digger
- Wood preserver & brushes
Having the right equipment before starting can save hours on installation day.
A strong, well-installed garden fence can last for decades with proper care. From selecting the right style and calculating panels to treating the timber and following planning rules, a bit of preparation goes a long way.
If you’d prefer a professional fencing installation in Sheffield and South Yorkshire, our team at Hillsborough Fencing can help you choose the perfect style and handle every stage of the process.
Please wait, processing details.