Products
- Border & Deck Fence Panels
- Concrete Posts & Gravel Boards
- Contemporary Range
- Decorative Screening
- DuraPost®
- DuraPost® Urban Composite Panels
- DuraPost® Vento Composite Panels
- European Panels
- European Lattice
- Paints, Stains & Preservatives
- Paling Panels
- Postcrete, Accessories & Fixings
- Posts & Accessories
- Traditional Panels
- Traditional Trellis
- DuraPost® Sleek Aluminium Panels
- Post Support Spikes & Bolt Downs
- DuraPost® Vista
- European Gates
- PSE Timber
- CLS Smooth Graded PAR
- Cladding, Matchboard, Ship Lap
- Feather Edge
- Fixings, Adhesives & Glue
- Floor Boards
- Half Round Posts & Rails
- Palings
- Posts
- Timber Rails/ Sawn Treated Carcass
- Round Posts & Poles
- Sheet Materials
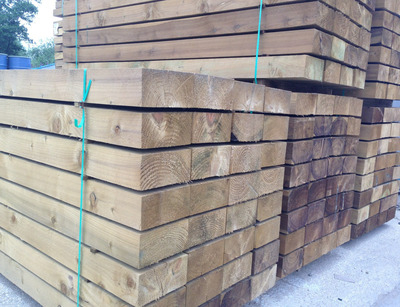
- Sleepers
- Western Red Cedar
- C24 Treated Timber
- C16 Treated Timber